1
2
3
4
5
6
7
8
9
10
11
12
13
14
15
16
17
18
19
20
21
22
23
24
25
26
27
28
29
30
31
32
33
34
35
36
37
38
39
40
41
42
43
44
45
46
47
48
49
50
51
52
53
54
55
56
57
58
59
60
61
62
63
64
65
66
67
68
69
70
71
72
73
74
75
76
77
78
79
80
81
82
83
84
85
86
87
88
89
90
91
92
93
94
95
96
97
98
99
100
101
102
103
104
105
106
107
108
109
110
111
112
113
114
115
116
117
118
119
120
121
122
123
124
125
126
127
128
129
130
131
132
133
134
135
136
137
138
139
140
141
142
143
144
145
146
147
148
149
150
151
152
153
154
155
156
157
158
159
160
161
162
163
164
165
166
167
168
169
170
171
172
173
174
175
176
177
178
179
180
181
182
183
184
185
186
187
188
189
190
191
192
193
194
195
196
197
198
199
200
201
202
203
204
205
206
207
208
209
210
211
212
213
214
215
216
217
218
219
220
221
222
223
224
225
226
227
228
229
230
231
232
233
234
235
236
237
238
239
240
241
242
243
244
245
246
247
248
249
250
251
252
253
254
255
256
257
258
259
260
261
262
263
264
265
266
267
268
269
270
271
272
273
274
275
276
277
278
279
280
281
282
283
284
285
286
287
288
289
290
291
292
293
294
295
296
297
298
299
300
301
302
303
304
305
306
307
308
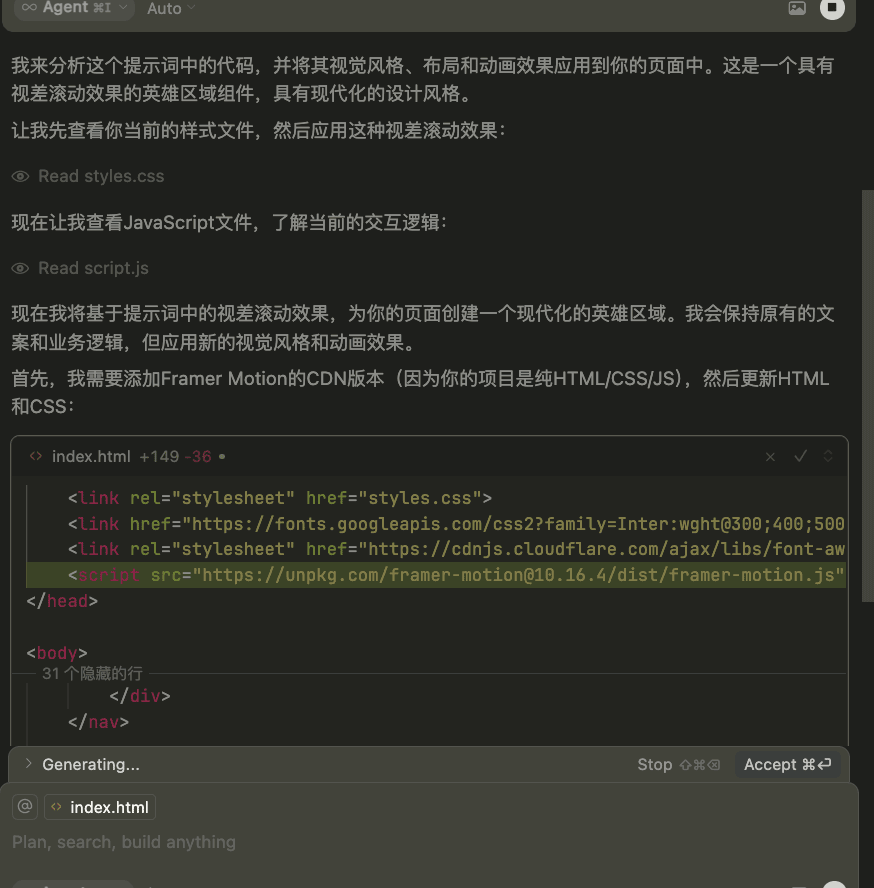
| You are given a task to integrate an existing React component in the codebase
The codebase should support:
- shadcn project structure
- Tailwind CSS
- Typescript
If it doesn't, provide instructions on how to setup project via shadcn CLI, install Tailwind or Typescript.
Determine the default path for components and styles.
If default path for components is not /components/ui, provide instructions on why it's important to create this folder
Copy-paste this component to /components/ui folder:
\`\`\`tsx
hero-parallax.tsx
"use client";
import React from "react";
import {
motion,
useScroll,
useTransform,
useSpring,
MotionValue,
} from "framer-motion";
import Image from "next/image";
import Link from "next/link";
export const HeroParallax = ({
products,
}: {
products: {
title: string;
link: string;
thumbnail: string;
}[];
}) => {
const firstRow = products.slice(0, 5);
const secondRow = products.slice(5, 10);
const thirdRow = products.slice(10, 15);
const ref = React.useRef(null);
const { scrollYProgress } = useScroll({
target: ref,
offset: ["start start", "end start"],
});
const springConfig = { stiffness: 300, damping: 30, bounce: 100 };
const translateX = useSpring(
useTransform(scrollYProgress, [0, 1], [0, 1000]),
springConfig
);
const translateXReverse = useSpring(
useTransform(scrollYProgress, [0, 1], [0, -1000]),
springConfig
);
const rotateX = useSpring(
useTransform(scrollYProgress, [0, 0.2], [15, 0]),
springConfig
);
const opacity = useSpring(
useTransform(scrollYProgress, [0, 0.2], [0.2, 1]),
springConfig
);
const rotateZ = useSpring(
useTransform(scrollYProgress, [0, 0.2], [20, 0]),
springConfig
);
const translateY = useSpring(
useTransform(scrollYProgress, [0, 0.2], [-700, 500]),
springConfig
);
return (
<div
ref={ref}
className="h-[300vh] py-40 overflow-hidden antialiased relative flex flex-col self-auto [perspective:1000px] [transform-style:preserve-3d]"
>
<Header />
<motion.div
style={{
rotateX,
rotateZ,
translateY,
opacity,
}}
className=""
>
<motion.div className="flex flex-row-reverse space-x-reverse space-x-20 mb-20">
{firstRow.map((product) => (
<ProductCard
product={product}
translate={translateX}
key={product.title}
/>
))}
</motion.div>
<motion.div className="flex flex-row mb-20 space-x-20 ">
{secondRow.map((product) => (
<ProductCard
product={product}
translate={translateXReverse}
key={product.title}
/>
))}
</motion.div>
<motion.div className="flex flex-row-reverse space-x-reverse space-x-20">
{thirdRow.map((product) => (
<ProductCard
product={product}
translate={translateX}
key={product.title}
/>
))}
</motion.div>
</motion.div>
</div>
);
};
export const Header = () => {
return (
<div className="max-w-7xl relative mx-auto py-20 md:py-40 px-4 w-full left-0 top-0">
<h1 className="text-2xl md:text-7xl font-bold dark:text-white">
The Ultimate <br /> development studio
</h1>
<p className="max-w-2xl text-base md:text-xl mt-8 dark:text-neutral-200">
We build beautiful products with the latest technologies and frameworks.
We are a team of passionate developers and designers that love to build
amazing products.
</p>
</div>
);
};
export const ProductCard = ({
product,
translate,
}: {
product: {
title: string;
link: string;
thumbnail: string;
};
translate: MotionValue<number>;
}) => {
return (
<motion.div
style={{
x: translate,
}}
whileHover={{
y: -20,
}}
key={product.title}
className="group/product h-96 w-[30rem] relative flex-shrink-0"
>
<Link
href={product.link}
className="block group-hover/product:shadow-2xl "
>
<Image
src={product.thumbnail}
height="600"
width="600"
className="object-cover object-left-top absolute h-full w-full inset-0"
alt={product.title}
/>
</Link>
<div className="absolute inset-0 h-full w-full opacity-0 group-hover/product:opacity-80 bg-black pointer-events-none"></div>
<h2 className="absolute bottom-4 left-4 opacity-0 group-hover/product:opacity-100 text-white">
{product.title}
</h2>
</motion.div>
);
};
demo.tsx
"use client";
import React from "react";
import { HeroParallax } from "@/components/blocks/hero-parallax";
export function HeroParallaxDemo() {
return (
<div className="min-h-screen w-full">
<div className="absolute top-0 left-0 w-full">
<HeroParallax products={products} />
</div>
</div>
);
}
export const products = [
{
title: "Moonbeam",
link: "https://gomoonbeam.com",
thumbnail:
"https://aceternity.com/images/products/thumbnails/new/moonbeam.png",
},
{
title: "Cursor",
link: "https://cursor.so",
thumbnail:
"https://aceternity.com/images/products/thumbnails/new/cursor.png",
},
{
title: "Rogue",
link: "https://userogue.com",
thumbnail:
"https://aceternity.com/images/products/thumbnails/new/rogue.png",
},
{
title: "Editorially",
link: "https://editorially.org",
thumbnail:
"https://aceternity.com/images/products/thumbnails/new/editorially.png",
},
{
title: "Editrix AI",
link: "https://editrix.ai",
thumbnail:
"https://aceternity.com/images/products/thumbnails/new/editrix.png",
},
{
title: "Pixel Perfect",
link: "https://app.pixelperfect.quest",
thumbnail:
"https://aceternity.com/images/products/thumbnails/new/pixelperfect.png",
},
{
title: "Algochurn",
link: "https://algochurn.com",
thumbnail:
"https://aceternity.com/images/products/thumbnails/new/algochurn.png",
},
{
title: "Aceternity UI",
link: "https://ui.aceternity.com",
thumbnail:
"https://aceternity.com/images/products/thumbnails/new/aceternityui.png",
},
{
title: "Tailwind Master Kit",
link: "https://tailwindmasterkit.com",
thumbnail:
"https://aceternity.com/images/products/thumbnails/new/tailwindmasterkit.png",
},
{
title: "SmartBridge",
link: "https://smartbridgetech.com",
thumbnail:
"https://aceternity.com/images/products/thumbnails/new/smartbridge.png",
},
{
title: "Renderwork Studio",
link: "https://renderwork.studio",
thumbnail:
"https://aceternity.com/images/products/thumbnails/new/renderwork.png",
},
{
title: "Creme Digital",
link: "https://cremedigital.com",
thumbnail:
"https://aceternity.com/images/products/thumbnails/new/cremedigital.png",
},
{
title: "Golden Bells Academy",
link: "https://goldenbellsacademy.com",
thumbnail:
"https://aceternity.com/images/products/thumbnails/new/goldenbellsacademy.png",
},
{
title: "Invoker Labs",
link: "https://invoker.lol",
thumbnail:
"https://aceternity.com/images/products/thumbnails/new/invoker.png",
},
{
title: "E Free Invoice",
link: "https://efreeinvoice.com",
thumbnail:
"https://aceternity.com/images/products/thumbnails/new/efreeinvoice.png",
},
];
\`\`\`
Install NPM dependencies:
\`\`\`bash
framer-motion
\`\`\`
Implementation Guidelines
1. Analyze the component structure and identify all required dependencies
2. Review the component's argumens and state
3. Identify any required context providers or hooks and install them
4. Questions to Ask
- What data/props will be passed to this component?
- Are there any specific state management requirements?
- Are there any required assets (images, icons, etc.)?
- What is the expected responsive behavior?
- What is the best place to use this component in the app?
Steps to integrate
0. Copy paste all the code above in the correct directories
1. Install external dependencies
2. Fill image assets with Unsplash stock images you know exist
3. Use lucide-react icons for svgs or logos if component requires them
|






Author
My name is Micheal Wayne and this is my blog.
I am a front-end software engineer.
Contact: michealwayne@163.com